Carrying on with my behind the scenes series (which I’m now posting every other Monday), today I will walk you through the setup process of a corporate portrait shoot I did a few months ago for RedHat Linux.
As some of you might know, RedHat is a global company considered by many the leader in open source software. As part of an advertising campaign and some supporting events and exhibitions, they were photographing some of their important customers from around the world. For their customer in Dubai they contacted me and gave me a fairly open-ended brief to photograph Mohammad Al Zarooni, the director of AEDA (.ae Domain Administration). AEDA are the regulatory body and registry operator for the .ae domains and a heavy user of RedHat software.
The great thing about briefs like this is that besides a general direction of how the images should look like, you are given a lot of freedom to choose your location and come up with something that looks good. As luck would have it, the AEDA offices were brand new and had a few spots that screamed for portraits full of natural light. Like I do with every shoot I started by walking around the place with the camera in my hand looking for some good angles.
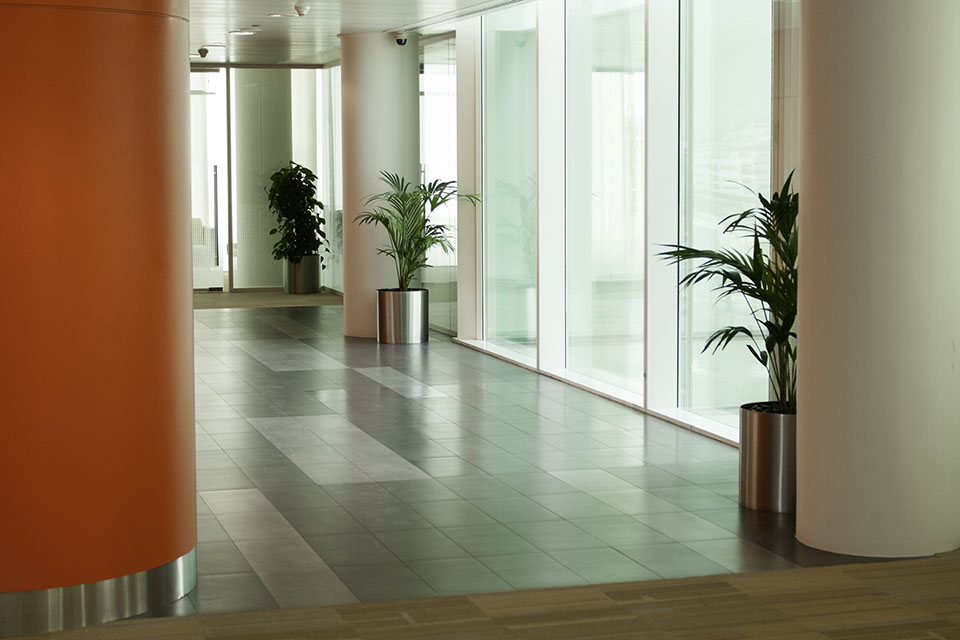
This initial angle, although interesting from a light point of view, didn’t look good enough. I felt the two columns would be too dominant and the person would look lost in the image. Of course, I could have gone a little bit closer, but I decided to turn around instead.
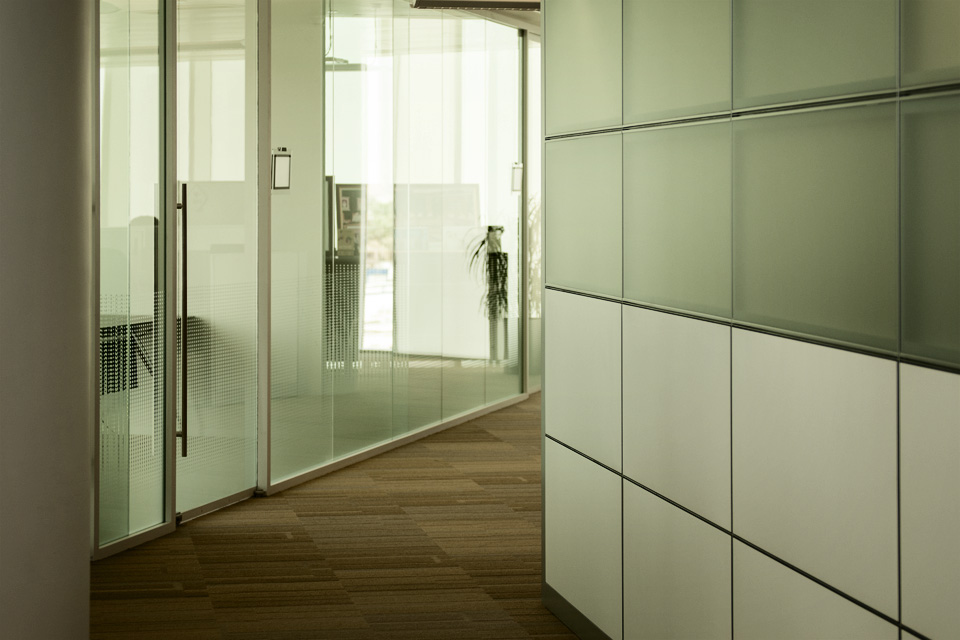
Now this was starting to look a little bit more interesting. There were nice leading lines in the walls, enough natural light and even the lines in the carpet were kinda going with the whole flow of things. I had my angle! Now for putting in some additional light.
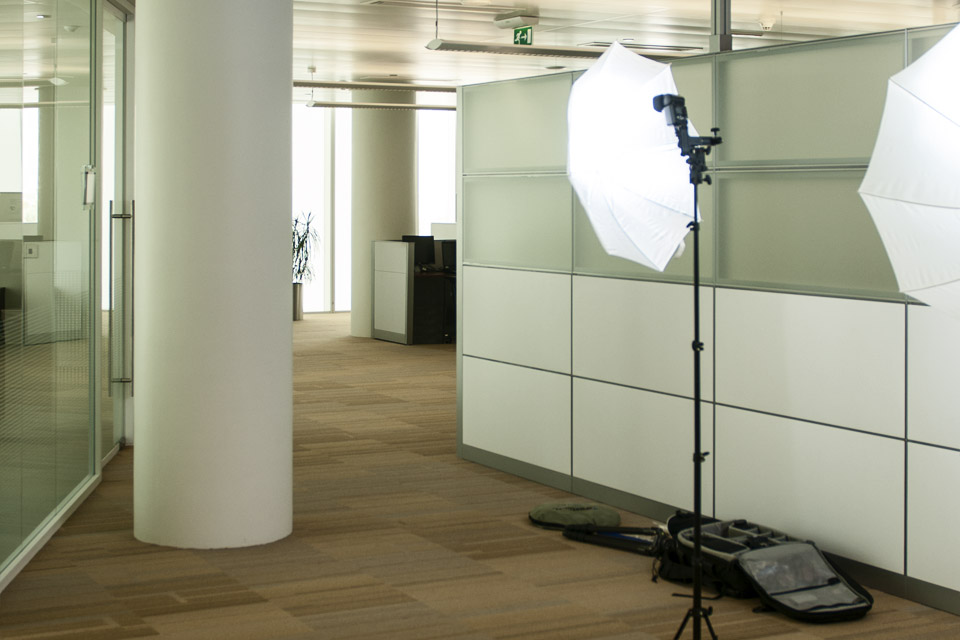
As you can see, it’s a fairly straight forward setup with one SB-800 shot through an umbrella. In this shot it was on camera right, but in the end I decided to have it on camera left and then added the second light (also through an umbrella) just skipping along the right wall to add some light and reflect some of it back to that side of the face (see the next image).
I can’t say I remember what power the light was on, but looking at the EXIF data for the final file I was shooting at f2.8 and 1/250 sec. I would guess my first light was somewhere around 1/4 or 1/8 and the wall one was around 1/64 or 1/128. There was no need to push a lot of light into the wall as I didn’t want it to actually distract from the portrait.
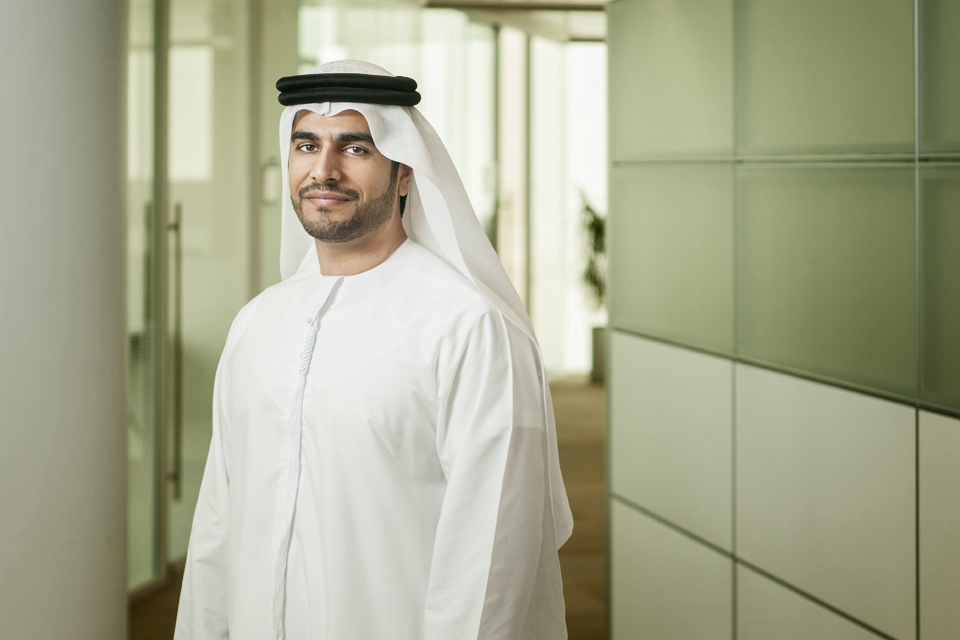
The post-processing was really minimal for the final shot with a couple of simple curves bumping up the contrast and removing a couple of imperfections from the side wall. The client was very happy with the final result and it looks like it will be time for a new portrait for them very soon.
